healthy

Taco Soup

Taco Soup

Persephone was born just six months after we moved to Utah, and Kristina Erickson, a member of our new congregation, brought us this soup. It was the best taco soup I (Kate) had eaten, and I asked for the recipe right away. And then I didn’t believe that was the correct recipe because it looked simple and the soup had tasted too-wonderful for this level of simplicity. I was wrong. The amazing soup really was that simple.

Read More

Red Sauce

When John Tomarchio was a young professor in Boston University’s Core Curriculum program, he often stopped by my (Kate’s) office. Sometimes he needed my support as program manager (my first job out of college), and sometimes he wanted to talk about food. John was super kind and I learned from him how to be a grown up and also how to be a good human. More to the point, I learned how to make red sauce.

garlic.jpg

Although the sauce as he explained it only had five ingredients, it must have taken him twenty minutes to explain the process, because he wanted me to get it right (and also he was passionate and possibly a bit theatrical). Following his careful instructions, I’ve always gotten it right. I hope now that you will, too!

browned garlic.jpg

Red Sauce

My understanding of John’s method is colored by the habits I’ve formed over the years—his lesson was more than twenty years ago. So I want to honor him for the life lesson but not (mis)represent this as his exact recipe, which I know it is not. Here is the original’s grateful descendant.

1 tablespoon olive oil
5 cloves garlic, smashed and peeled
3 tablespoons tomato paste
1 28-ounce can crushed tomatoes*
1 teaspoon dried oregano
1 teaspoon kosher salt
1 pinch red pepper, optional


Heat a large saute pan over medium heat and add the olive oil once water sizzles when it hits the pan. Add the oil and give it thirty seconds to warm up as well, then add the whole-but-smashed cloves of garlic. In my view, what you do next is the most important step to the quality of the final sauce.

Cook the garlic slowly and gently and Do Not Scorch the Garlic! If the pan seems too hot, remove it immediately from the burner to cool off. You want the oil to barely simmer around the garlic, so that the cloves slowly turn a golden brown. This usually takes me three to five minutes.

Once the cloves are golden brown, add the tomato paste, salt, oregano, and optional dried red pepper. (John didn’t use tomato paste, but it adds a depth that we like. He also didn’t use oregano—he added fresh basil at the end. But we often find ourselves without fresh basil.) Stir for a minute, then add the tomatoes. Simmer for five or ten minutes. You want the sauce to cook down and thicken, but not become too thick. If it cooks until it becomes too thick, you can add a little pasta water. When you think it looks right, turn off the stove and taste a bit. Does it want more salt? How about some freshly ground pepper? If it’s too acidic, try adding a scant teaspoon of table sugar. (If you always use Pastene canned whole tomatoes, it will never be too acidic. Of course, home-bottled tomatoes also work beautifully.) I can’t buy Pastene now that I live in the West, and it’s terribly sad. In fact, this post made me investigate my Pastene shipping options. The only place I can find them is the manufacturer, located in Massachusetts, and I’d love to support them. But shipping is pricey. I have a twelve-pack loaded into my shopping cart and my credit card number entered—will I push the button to purchase?)

 Add to 1 pound freshly cooked, al dente spaghetti or linguini, top with freshly-grated parmigiano-reggiano, and serve. Or use this for lasagna or pizza sauce, a spaghetti squash gratin or calzone. Options abound, each of them delicious.


*John advised me to use whole peeled tomatoes with the reasoning that they use blemished tomatoes for the crushed and diced cans and the best quality ones for the cans of whole tomatoes. At some point I veered away from his advice, thinking the chopped were easier to deal with. But something has been brewing in me recently, and when making this batch, I decided definitely that in future I will avoid chopped tomatoes. They don’t break down no matter how long you cook them!

Red sauce with garlic.jpg

Chickpea and Sweet Potato Korma

Chickpea and Sweet Potato Korma

I (Amelia) was looking through my mom’s cookbook when I came across something titled “Sweet potato and cashew curry over coconut rice” and knew I had to make it . . . by the end the korma came out pretty different and completely delicious. It put us all in such a good mood that we were chuckling about how dandy our family life is (not our usual dinner conversation).

Read More

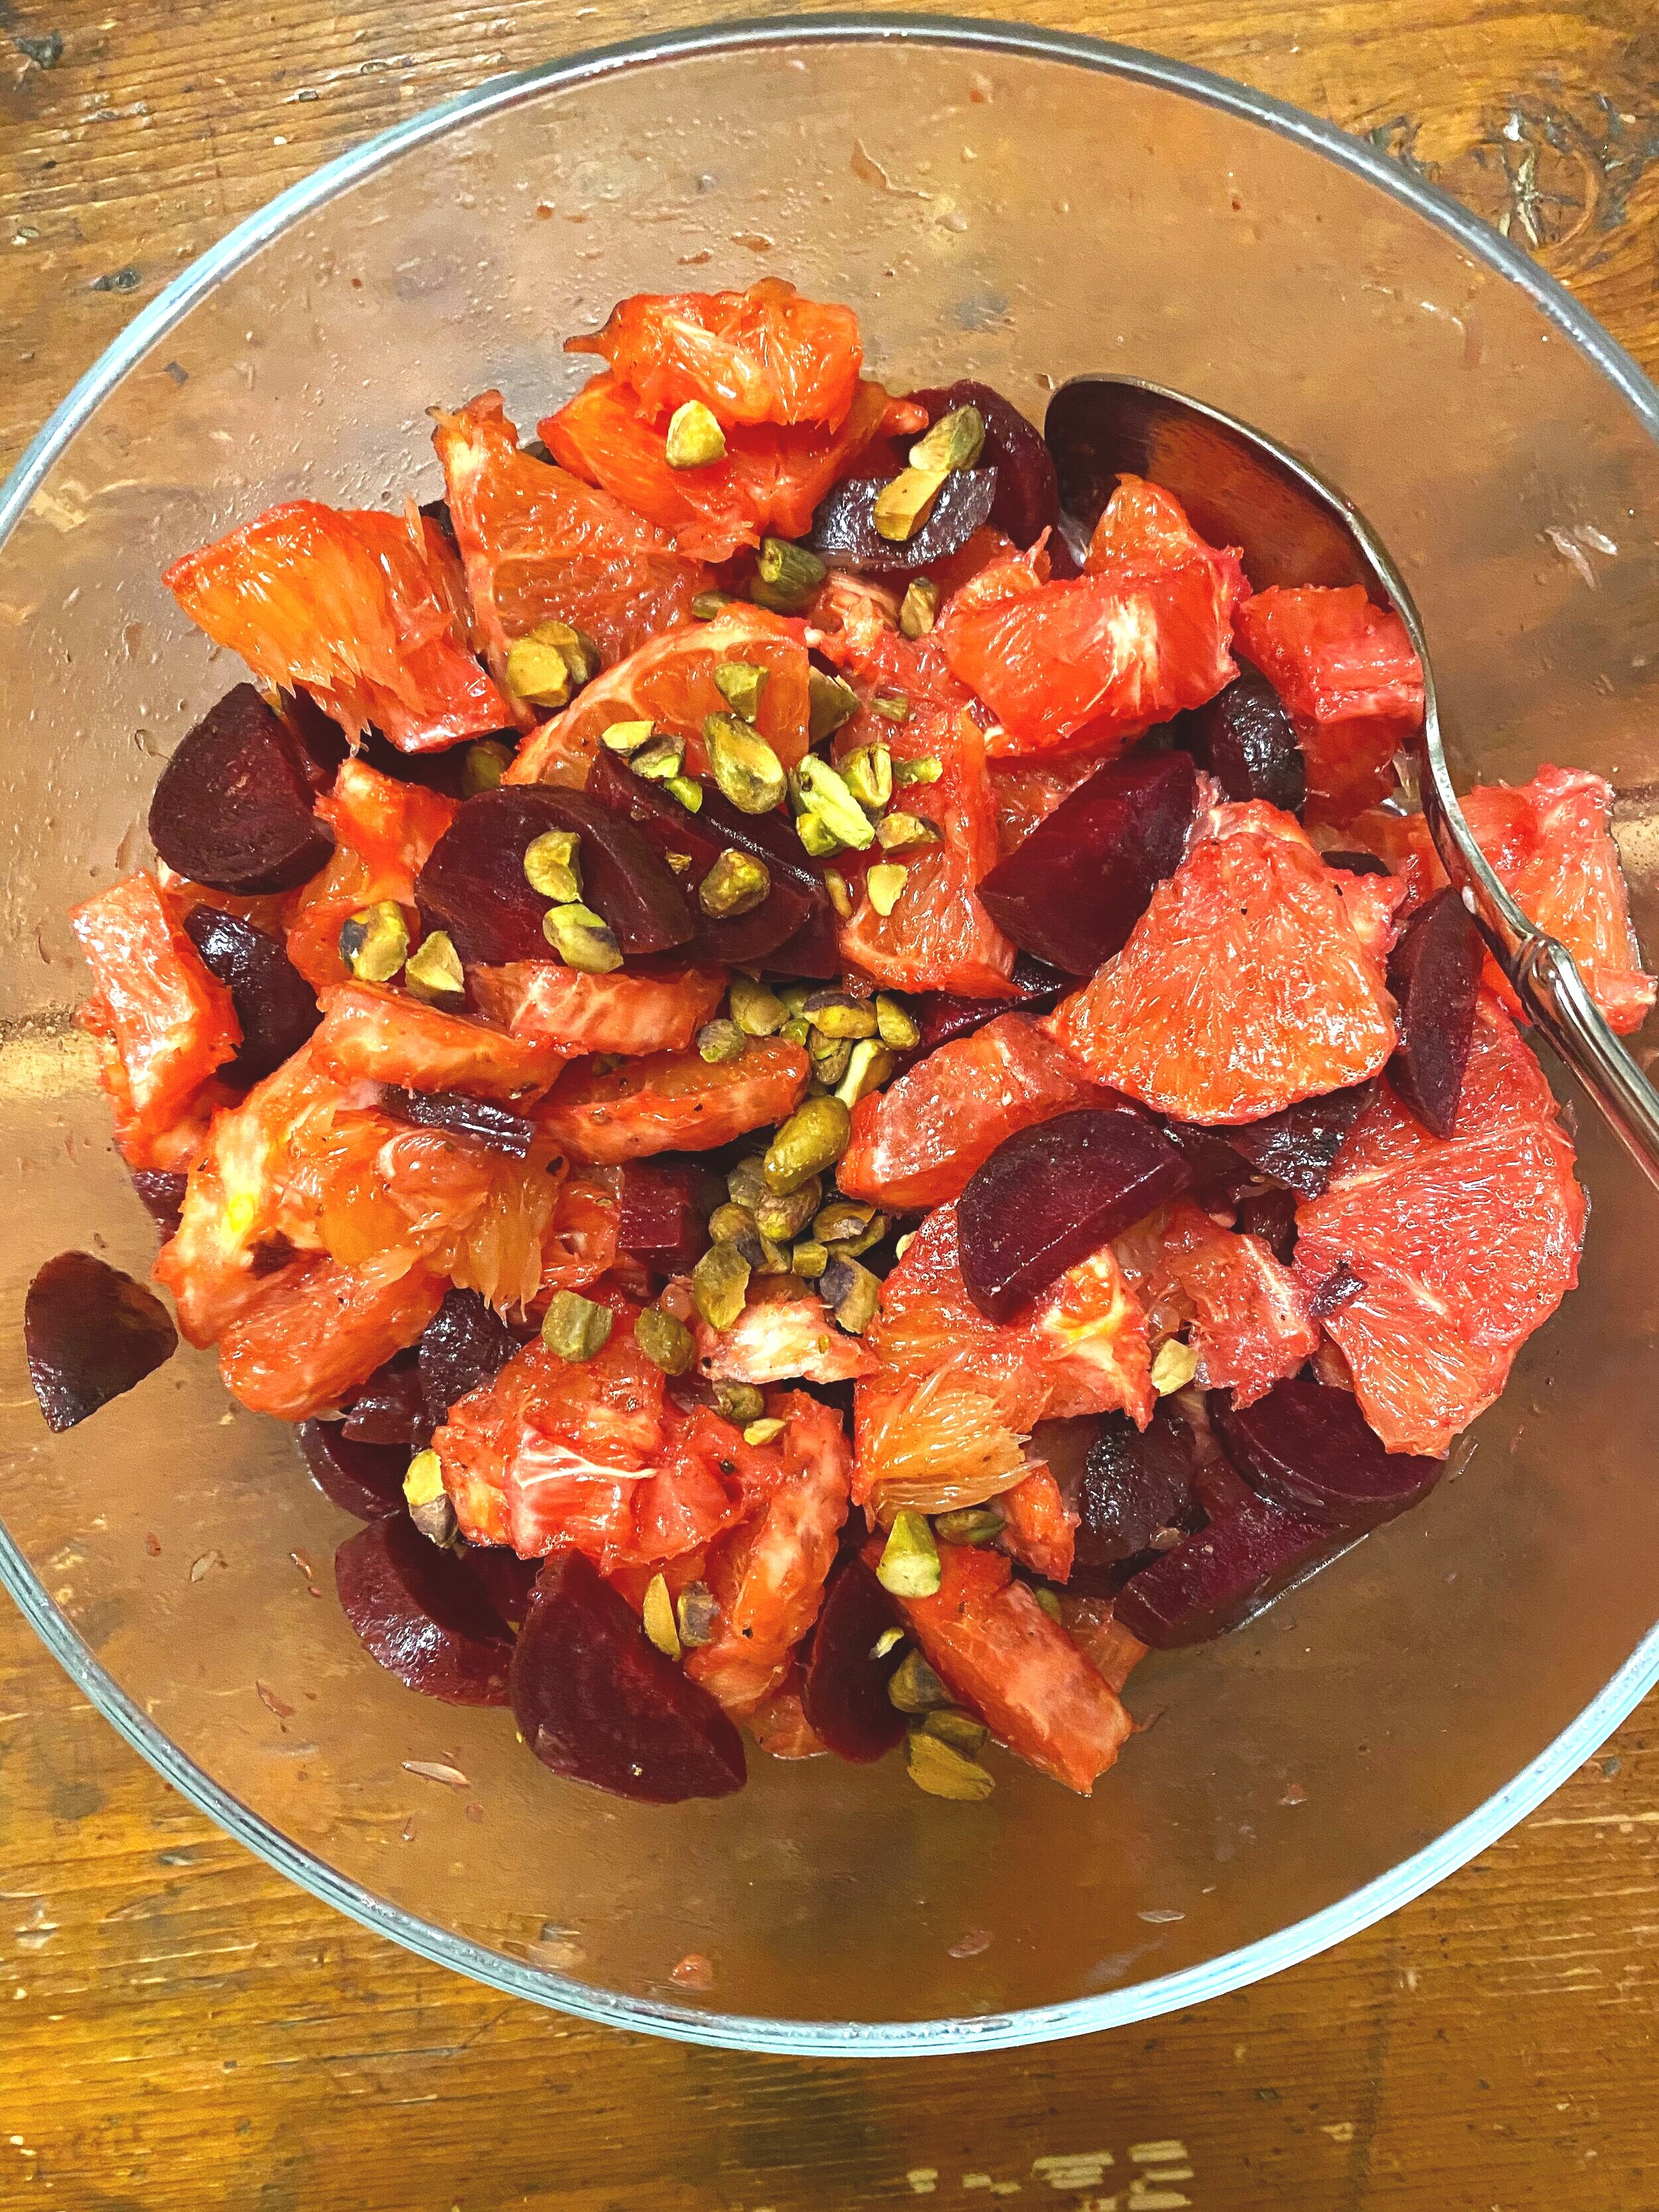
Roasted Beet and Orange Salad

Roasted Beet and Orange Salad

This salad reminds me (Amelia) of a disagreement I had last year with a friend. We had just entered French class, and were desperately tucking in the last corners of our conversation before the bell rang. At least, I felt desperate, because my friend had told me something I hear all too often: she doesn’t like salad. I was aghast and pushed her to tell me why.

Read More

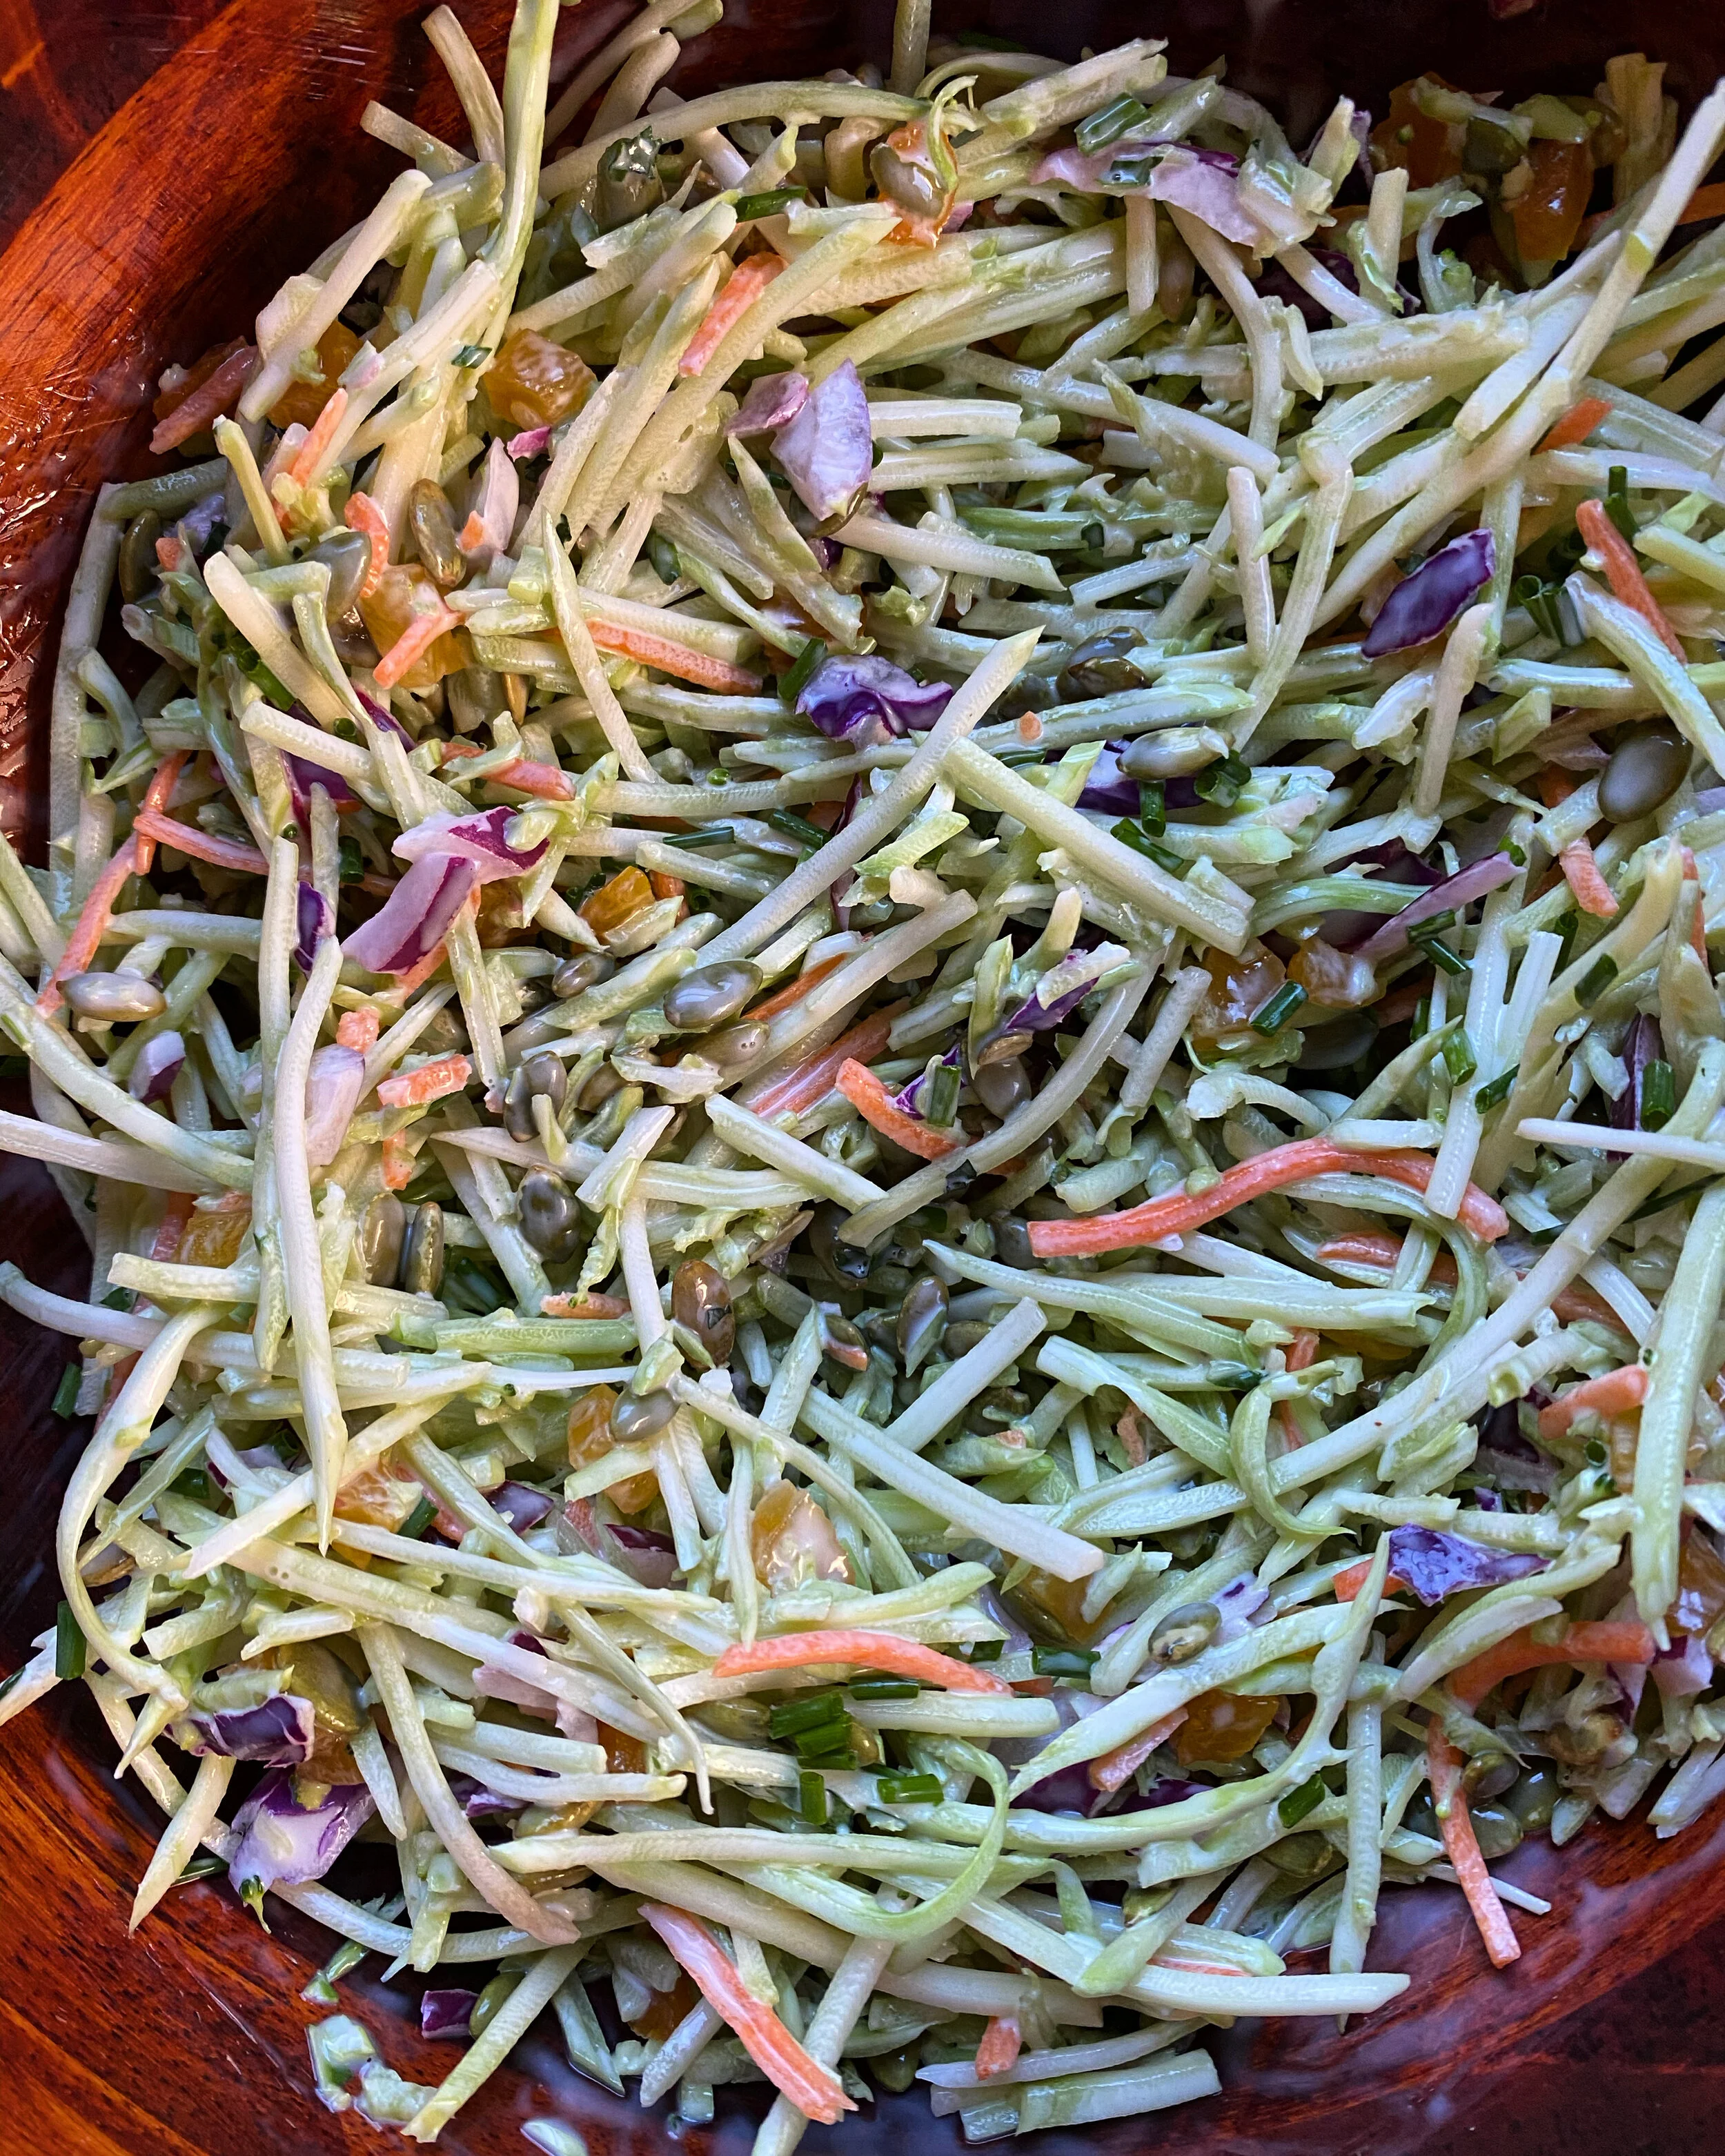
Winter Festival Salad

Winter Festival Salad

As it turns out, Winter is one of my (Amelia) favorite seasons for produce.

Yes, Winter, not Summer.

The cold season where everything is supposed to be dead. But everything isn’t dead, and I see that now! Cabbage makes crunchy salads, cauliflower has buttery potential, pomegranates are truly edible gemstones, and my heart dances a little whenever I smell the fragrance of quince or taste a sweet persimmon.

Read More

Sourdough Granola Bars

Granola bars used to be my (Amelia’s) all time favorite food, but these days, I find them a little too stale and a little too sweet. I tried to solve this problem with homemade granola bars, but the recipes I’ve tried thus far have either been 1) too sweet, 2) complete structural disasters, or 3), both.

mix sourdough bars.jpg

Just after I’d given up hope and wished my granola bar days goodbye, my Gia introduced us to sourdough granola bars. The idea enticed us and we knew we had to try them. To my delight, they were the granola bar I’d been looking for. They have a wonderful flavor and stick together easily. After some tweaking, we had a new favorite granola bar, perfect for after-school snacks.

face.jpg

Yes, you need a sourdough starter. But - the rest of the recipe is very simple, and we know many people have been experimenting with sourdough recently, so if there’s ever a time to use starter without much effort, this is it. Literally just mix everything together and bake it. I promise, you can do it.

Sourdough Granola Bars

  • 1 cup whole pecans, toasted and cooled

  • 2 cups rolled oats

  • 1/4 teaspoon kosher salt

  • 1/3 cup pumpkin seeds/pepitas

  • 1/3 cup dried fruit (we especially like dried figs, cherries, and a few golden raisins)

  • 1/2 cup chocolate chips

  • 1/3 cup maple syrup

  • 1 cup sourdough starter

Take sourdough start out of the fridge and preheat the oven to 350 degrees. Grease an 8 x 8 inch baking dish.

Toast the pecans (we do so at 350 in our toaster oven) in the oven for 7-10 minutes, until their color has deepened and they are fragrant. Set aside to cool.

Put oats, salt, pepitas, dried fruit, and chocolate chips in a medium bowl and stir to combine. Once the pecans have cooled, chop them and add them to the bowl (it’s important to give them time to cool, both to give the oils time to settle and to avoid melting the chocolate chips). Stir in the maple syrup and sourdough starter with a spatula until well combined (you might have to fight with the starter a little bit, but keep stirring and it will work out).

Pour the mixture into the prepared pan and bake at 350 degrees for 20 minutes. Let cool completely in pan (this is important for easy cutting), then transfer the bars to a cutting board and cut into desired sizes.

IMG_2700.jpg

Chocolate-less: If you prefer a lighter snack, omit the chocolate chips and increase the dried fruit to 1/2 cup.

Millet: Add 1/3 cup millet to the dry ingredients, if you have it on hand.


Tomato Slab Pie

Tomato Slab Pie

I’m (Amelia) typing this on the day we are to have Tomato Slab Pie for dinner, and let me tell you what I’m thinking about. I’m thinking about succulent tomato juices seeping into soft biscuits with crispy cracky cheese. Im thinking about the top browning just enough and the gem like tomatoes dancing with herbs. I’m thinking it’s going to be a good day.

Read More

Old-Fashioned Oatmeal

When I (Kate) first lived in Russia as a twenty-year old, I had an older roommate from the Ukraine who made us oatmeal every morning for breakfast. Ludmila Romanina was her name, and during the few months we lived together she took on oatmeal as a challenge. Had she lived in Brookline, Massachusetts during those early years of Cooks’ Illustrated magazine, I’m certain a symbiotic relationship would have flourished. As it was, she planted an understanding in my heart that oatmeal had considerable potential in terms of flavor and texture worth even more than its offering of sound nutrition.    

Amelia’s bowl

Amelia’s bowl

Preparing oatmeal is easy, but the many approaches out there can be misleading. Made with water as the only liquid, you deprive yourself of any creaminess. Using only milk, the resulting richness overwhelms the oats’ chew and delicate flavor. Omit salt and you’ll understand why some people consider oatmeal slop—it’s the equivalent of abducting the poor oats and asking them to communicate with scarves stuffed inside their little mouths.

IMG_2745.jpg

 The following recipe will get your oatmeal just exactly where it needs to be, freeing you to experiment with toppings—from a simple spoonful of jam to more elaborate glories. On vacation, weekends, or if we awaken five minutes early enough on a weekday, we adorn the oatmeal with granola and, depending on the season, fresh or canned fruit, a spoonful of nut butter, dried currants or cherries, a sprinkle of nuts, muesli—really, the potential combinations are so stimulating you can work yourself into a state. And we have—it’s a state called bliss. 

Mom’s bowl

Mom’s bowl


Old-fashioned Oatmeal

Serves 2 or 3

  • 1 cup rolled oats (aka Old-fashioned oats)

  • 1 cup milk (of your choice)

  • 1 cup water

  • 1/2 teaspoon salt

  • Brown sugar, to taste

Place oats, milk, water, and salt in a saucepan. Turn heat to medium-high, bring to a simmer, then turn heat to medium low or low, to maintain a simmer but prevent boiling. Simmer, stirring occasionally, for 5 to 10 minutes. Remove from heat and add sweetener (I like brown sugar; Amelia prefers it without; it’s also good with honey or maple syrup).

If you are serving the oatmeal in a fairly plain way, these quantities make two satisfying servings. On a busy morning where timing-wise the choice to squeeze in oatmeal was a bit dangerous, we’ll top it with a spoonful of jam and be perfectly content.

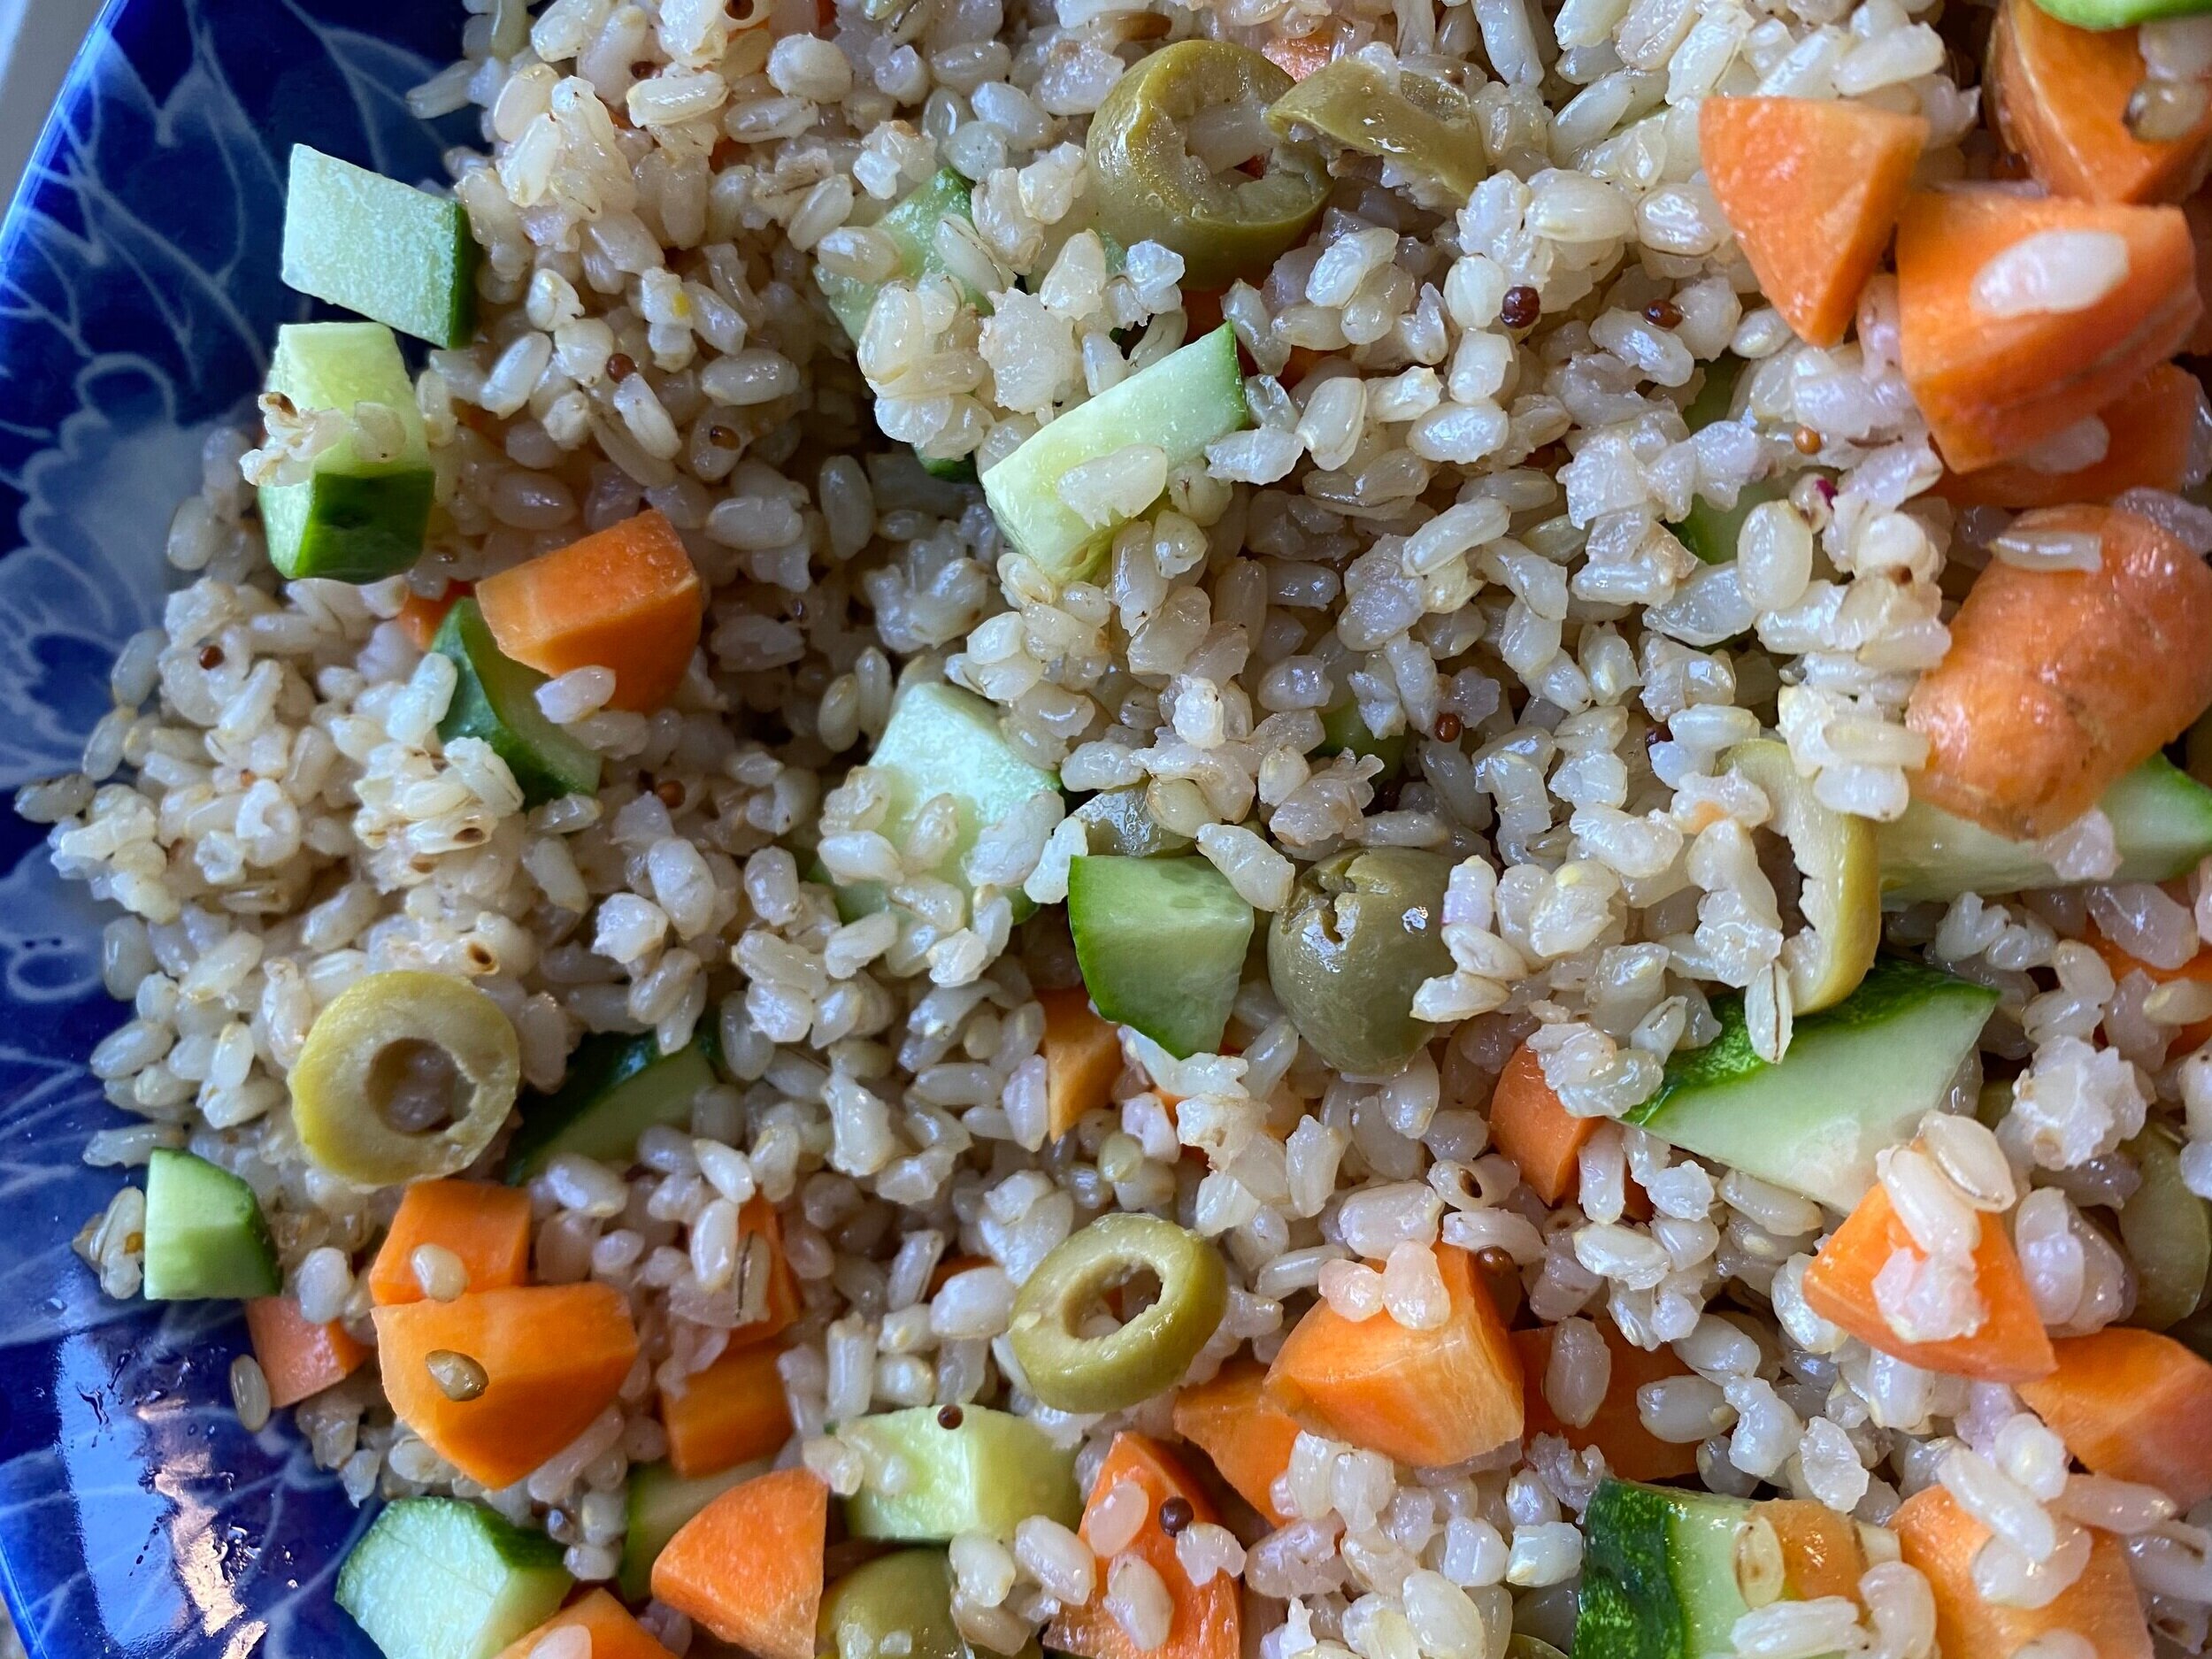
Salade Ménagère

Salade Ménagère

Whatever you do to make this salad your own, the combination of a nutty starch with vinaigrette and crisp vegetables is wonderfully satisfying. Make this the destination for your excess summer vegetables, or serve it alongside fresh farmer’s market tomatoes, sliced thin with salt, pepper, and a touch of olive oil.

Read More

Summer Vegetable Tian

Summer Vegetable Tian

If you’re making a tian, you won’t even need to fantasize about being able to travel while you’re stuck at home, because it makes wherever you are feel perfect. The first time we made a tian, it was because we were looking for ways to use our summer squash. All the rest of the times we have made it because it is fabulously delicious. Now we finally starting to see summer squash popping into the markets and real tomatoes gracing the stands.

Read More

Salad with Roasted Potatoes and Hummus

Salad with Roasted Potatoes and Hummus

One of my (Kate) favorite things to buy for lunch is the Mediterranean Salad at Salt Lake City’s Oasis Café. When I get to entertain a visiting scholar for lunch, I almost always bring them here, and I recommend this salad. We’ve developed a recipe for you to make, so you can share in the pleasure, too, and you get to decide how simple or complicated to make the preparation.

Read More

20-Minute Roasted Potatoes

 
IMG-3179.JPG

Here at the Away Cafe, everybody loves roasted potatoes. Mom, dad, Sephe, Lucia, me (Amelia), everybody. Yet, up until recently, we hardly made them. I have memories of potatoes roasting slowly in the oven, the cook anxiously resetting the timer over and over as the potatoes continued to take more time to fully cook through. They usually required a minimum of 45 minutes and often took an hour or more to roast. It was hard to get the timing right, and too much effort for one side dish.

IMG-3180.JPG

Enter, my solution: cut them super thin! These are like a cross between a potato chip and roasted potatoes, and man, are they delicious. They roast for only 10 minutes and broil for about 2, making them the perfect side dish: quick, easy, and appealing to all kinds of eaters. Next time you’re craving some fast food fries from the pre-pandemic ages, give these a shot.

Quick Roasted Potatoes

Fills one sheet pan with potatoes slices; doesn’t make very much and could easily be doubled

  • 2 medium/large potatoes, any variety (I usually use russet)

  • Olive oil

  • Salt and pepper

Preheat the oven to 400 degrees. Wash and slice the potatoes thinly and dump them onto a large sheet pan. Drizzle about one tablespoon olive oil and and 1/2 teaspoon or two huge pinches salt (don’t be shy with the salt here) on top, along with plenty of freshly ground black pepper. Mix it all together with your hands and spread the potatoes in an even layer over the sheet pan. Wash your hands and put the sheet pan in the oven. Roast for five minutes, flip the potatoes, and then roast for another five. Preheat your broiler while they are finishing roasting. When the five minutes is up, flip them again and broil for 1-3 minutes. The time this takes will vary wildly depending on the strength of your broiler and your desired level of crisp, so watch closely.

Once they look toasty and brown, take them out and serve with ketchup, if desired.

You could definitely go crispier if you wanted to; just watch closely!

You could definitely go crispier if you wanted to; just watch closely!